Wednesday, February 22, 2012

Care and Keeping of a Pattern

No matter how careful you are with your patterns, purchased at a fabric store or printed from a free sewing pattern on the web, the affordable medium on which they are transferred is far from permanent. So what can you do to extend the life and usefulness? Is there a way to better preserve custom drafted or altered patterns to reuse for more outfits in the future? For many years I didn't think so. Having multiple patterns from McCall’s, Vogue, and Simplicity for my American Girl dolls, as well as trying to draft my own patterns for soft sculpture dolls, better doll clothes, and even my own clothing, I had found a lot of what didn't work.

The paper itself is the problem. Tissue paper is great because it's thin and flexes well with the fabric as it's being pinned, but tears easily from the expected use. Printer paper is just the opposite, inflexible, can still tear easily, but is a bugger to pin through, especially when it is accompanied by two layers of fleece. While searching through doll patterns on Ebay a few years ago, it felt like someone simply blurted out the answer. The seller said that the pattern being sold was unused, but she had reinforced the pattern with fusible interfacing.

I have been sewing since I was in grade school, and not once had I ever heard of doing this. For doll clothes sized patterns, this is an ideal and inexpensive solution. Best of all is that it works very well. Now your tissue patterns can be handled without worrying about tearing, but it is actually easier to pin with the fusible interfacing reinforcing it because then the tissue paper won't wrinkle so easily.

Here are the supplies you will need:


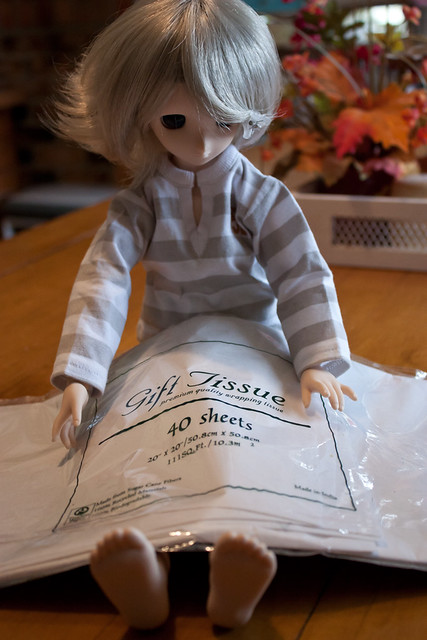
Tissue Paper: This may seem like a strange thing to add to a sewing list, but for me it is invaluable. I've tried to pin a pattern on fabric that was printed on standard printer paper, and it only takes once to realize that this is not the best way to go about it. I keep a pack or two of white tissue paper on hand, easily be obtained from the wrapping section of most dollar stores.

Doesn't Look Special To Me

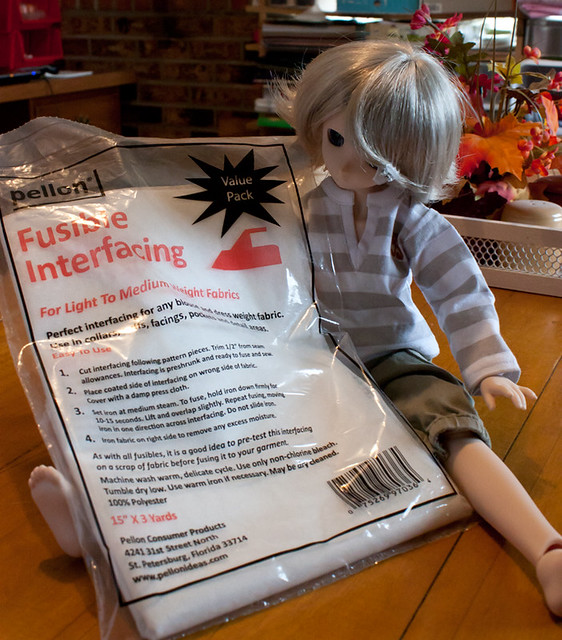
Single-sided Fusible Interfacing: This is the interfacing that I prefer, mostly because it works well, but it comes in a pre-measured amount. Overall that’s not really a big deal, but it saves you from having to talk to the person at the cutting counter and getting bombarded with tons of options. If you want to buy it by the yard, the things to pay attention to is that you want interfacing for light to medium weight fabrics, but make sure it is single-sided. Interfacing is like tape, there is standard single-sided like normal tape, but then there is also double sided. The double sided will turn your pattern, iron, and ironing board cover into a complete mess. There are different glue strengths on the interfacing as well. Getting one that was too heavy might make your pattern too stiff and annoying to work with, but feel free to try it if you wish, I just never found a need to.

Parchment


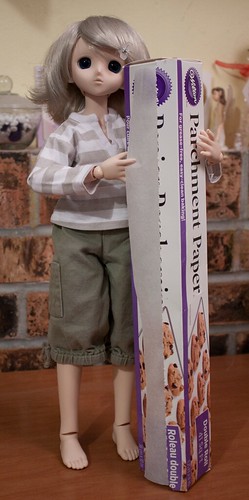
Parchment Paper: Common cooking parchment is what you are looking for, but for the use in this project it is not interchangeable with wax paper. I think parchment has a silicon coating on it so things don't stick, including fusible interfacing.

Iron & Ironing Board

Ziploc Bags (Optional)

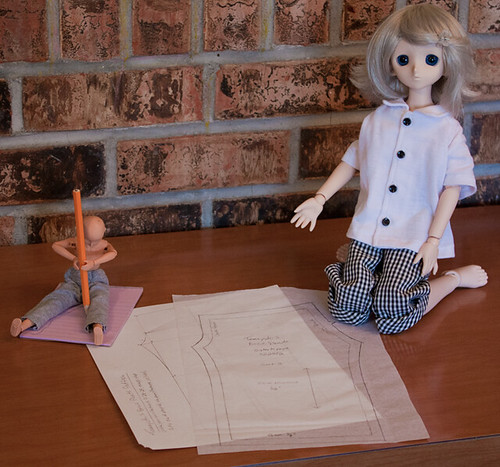
01TissuePattern
Dolly: "I can draft better pants than these ugly things I have to wear..."
Tamayuki: "Mommy can draw prettier than me."


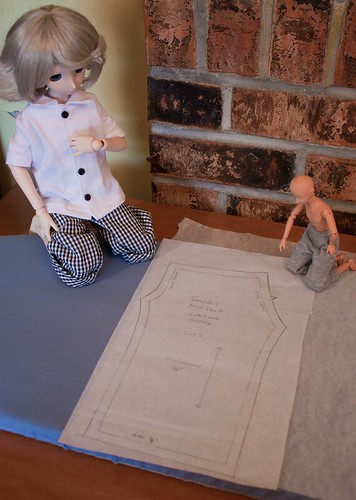
Have your pattern drafted or printed out before starting. When using the tissue paper, place the glossy side down (if there is one) because the marks show up too light on that side. Now, lay a piece of the tissue paper over the pattern to be transferred, carefully tracing all the lines and markings on the pattern. Using a dark pencil is best because I'm not sure if the ink from a ballpoint pen would run or get sticky from the heat of the iron. A felt tip pen is too wet, making the lines not crisp and possibility tearing the thin tissue paper. As the pattern is being transferred, check to make sure your lines still match up, sometimes the tissue shifts and the pattern would be off.

02AlineWithInterfacing
Tamayuki: "These are for my new pants."
Dolly: "Look here, she messed up and left a part poking out!"
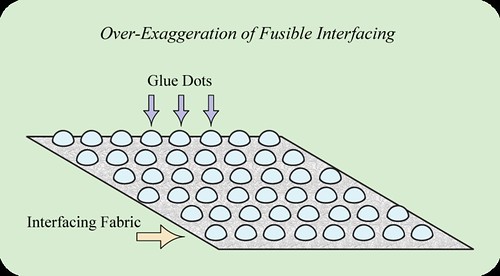
Over-Exaggeration-of-Fusible-Interfacing

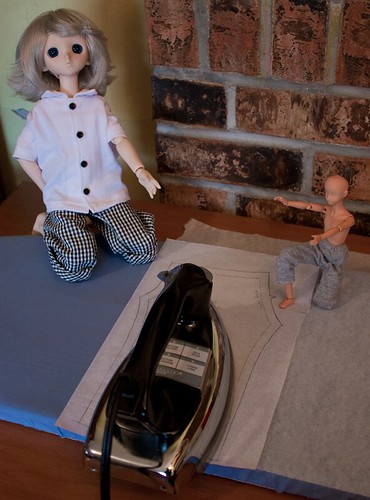
After the pattern has been transferred, place the interfacing on the ironing board, glue side up. One of the reasons I like this interfacing is how easy it is to tell what side will be fused. Just by running my hand over it I can feel the glue dots so I always know what side to have against the glossy side of the tissue paper. There was one kind of interfacing that I had once where it was very difficult to tell what side had the glue. At least twice, I had the wrong side against the iron. Definitely better things I would have wanted to do with my time then clean melted glue from my iron.  -_-
03IronSome
Tamayuki: "I let mommy do this part because the iron is hot."
Dolly: "Ooooh! It's my turn!"

I set my iron to the wool setting (about #4), but if you are using a steam iron, set it to the highest setting that does not use steam. Any water or steam will ruin the tissue paper pattern and no amount of ironing after that can fix it. Press the iron onto the pattern & interfacing in sections for about 5 seconds, being careful not to scorch the paper. You may need to do it longer depending on your iron. I usually press the inside of the pattern first close to the edge but not overlapping it. This just saves on how much interfacing I use.
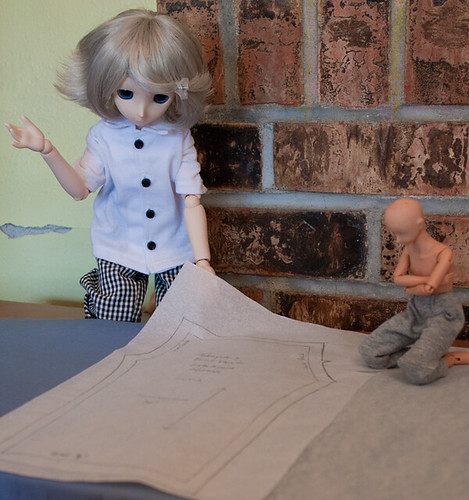
04PartallyFused
Tamayuki: "Look, it's stuck!"
Dolly: "I could have done it but nobody lets me..."

Fusing the center like this only works if the middle of the pattern is big enough, but if it isn't I run the tip of the hot iron near the edge of the pattern. This will get it to stick a little so I can pick it up and trim the interfacing. No matter what way you do it, the tissue paper needs to be completely fused to the interfacing.
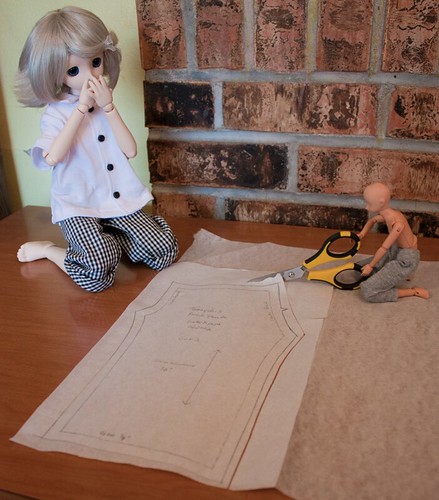

05RoughCut
Tamayuki giggles."Mommy was nice to let Dolly help."
Dolly: "See, I can do a better job cutting than anyone. Just look!"

Roughly cut out pattern near the edge but not right up against the outside of your pattern lines. You can skip this step if the tissue paper already overlaps all edges of the interfacing.
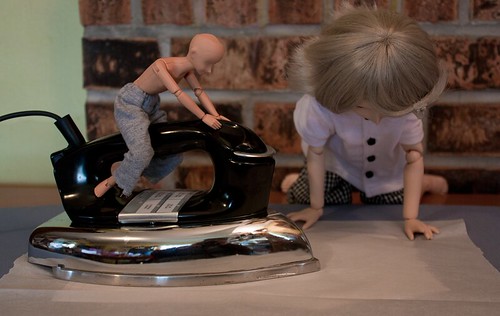

06IronAll
Dolly: "Vroom, vroom!"
Tamayuki: "Now I just need to carefully place the parchment here..."

Place parchment over pattern, ironing over all the pattern edges, fusing the whole thing flat. I reuse the same piece of parchment and keep it with my interfacing. So far I haven't had to replace it in the few months I've been using it.
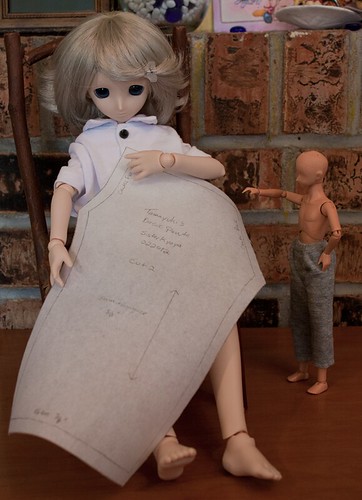

07CutButLeavveLines
Tamayuki: "Look, mommy cut carefully to keep all the lines on the pattern."
Dolly: "Hey, where did my great line go that I cut?"

Cut out the pattern along the outside edge of your cutting line, making the fabric much easier to cut out once the pattern is pinned.


08AllDone
Tamayuki: "Can we make my pants now?"
Dolly: "They don't look like they fit at all. Maybe they just say that they are pants, but it's really another skirt!"

Yay! Now the pattern can be used for that wonderful new outfit that your doll has been waiting for, and it can be reused when her sister wants one of her own.  The easiest way I have found to store the finished patterns in gallon sized Ziploc type bags, then there is enough room to store the directions, and any other pattern pieces for the garment.

~Sister Kyoya
Monday, February 13, 2012

Sewing Supplies for the Nervous Newbie

Going to a fabric store can be a fun experience, so much color everywhere, tons of nifty gadgets, walls of buttons... enough visual chaos to make you want to go running out of the store like a lunatic with their hair on fire. I've seen this plenty enough with my husband when he has accompanied me to our local Joann's store. I'm sure it didn't help him any that I knew what I was looking for and needed very little input from him.

{ Sisterly Tip }
 If you are afraid of being overwhelmed while in the store, plan ahead and don't go on the weekend if you have a choice. That is when they are normally the most busy, especially Saturday and Sunday afternoon, and if there is a sale that weekend, it won't be pretty. You know scene in the old movies, the camera pans slowly over the clothing department of a quiet store. Out of the blue, a voice calmly in forms the customers of a spontaneous sale. The sudden announcement causes the customers to come out of the woodwork in a frenzy, grabbing at anything they can? Yah, it can feel like that.

Sharpies
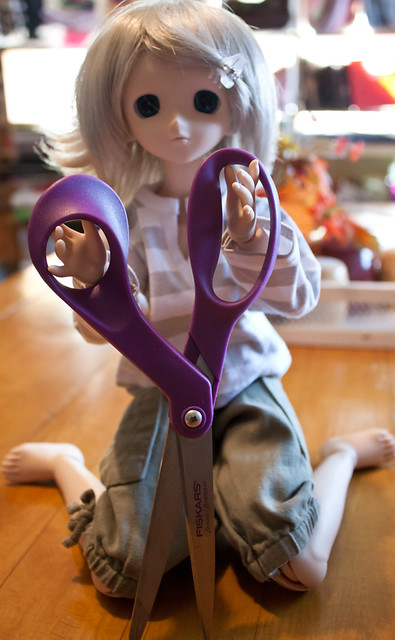
"Too big for Tamayuki!"

Scissors: Having sharp scissors is absolutely mandatory. Otherwise your fabric will not cut well or straight, nicks in the blades will leave threads uncut and snag the fabric, making your project miserable before it is hardly started. I have bought good sewing scissors from fabric stores as well as from mega stores, both kinds were sharp and cut well. The biggest factor in good scissors is how they are treated, making sure that they don't get nicked by accidentally trying to cut through a pin. Been there, done that. Also, don't let anyone use them, period. Put a label on them, hide them, lock them up. No one cares about your sewing scissors as well as you do, I had to fight for years against my family and my husband to simply leave them alone. I wouldn't be so adamant about this because cotton fabric tolerates a lot, but silk, tulle, or even just simple jersey fabric will be difficult to cut with nicked or even dull scissors.

Special note: If you are left-handed, make sure you buy left-handed sewing scissors like the 'Classic Lefty' Fiskars Bent Multi-Purpose Scissors.

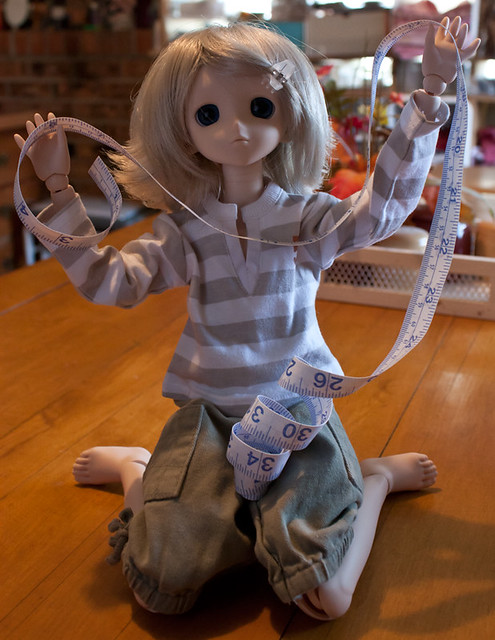
Pretty Streamer
"If I had my own room I could make the walls pretty with this!"

Tape Measure: Any tape measure will do but it would be much better to have one that includes both inches and centimeters for accuracy. I also have one with yardage marks that I find really useful, but I also sew full sized clothes frequently.

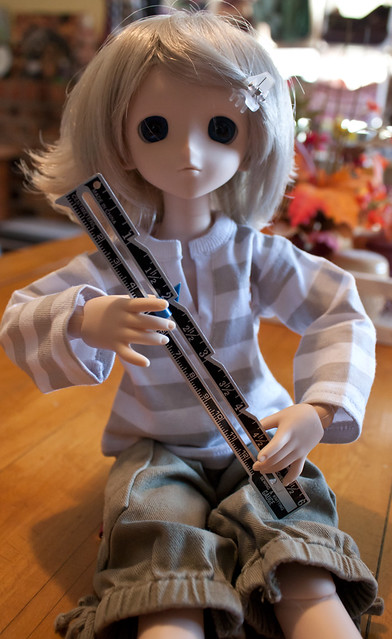
Slippery Slide
"Is this a slide ruler mommy?"

Hem Guage: This is particularly useful for working on small scale clothing projects because you can set the measurement you need, saving a lot of time. I use mine most often to avoid having to pin skirt hems, quickly and accurately, measuring the hem as I'm ironing. Any time saved from having to pin is worth it.

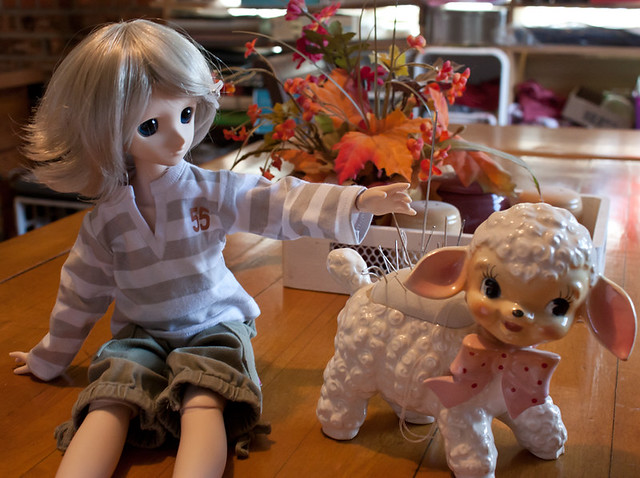
Sewing Helper
"Ouchie sheep isn't ouchie because he has lots of wool."

Pin Cushion: I mainly use the pin cushion for my hand sewing needles, especially the specialty ones, like my curved needles, or my hugely long doll needle, or even the really tiny ones that can get lost in the blink of an eye. Just a normal pin cushion will work, but you can also use a cute vase or maybe one of those old character face mugs that have a hat and convert it into a decorative and functional needle holder!

Hand Sewing Needles: This is mostly important for those times when you need to secure threads when you didn't have room to reverse stitch to lock in the threads or it would have made the garment look ugly, or hand sewing an elastic casing closed. Usually you can find multi-packs of hand sewing needles inexpensively, but be careful to not get cheap quality ones. I've done this before and the entire pack of needles had rust spots where they were poked through the paper that held them. No amount of sanding made them work smoothly because the rust would catch on the fabric.

I Can Help Too
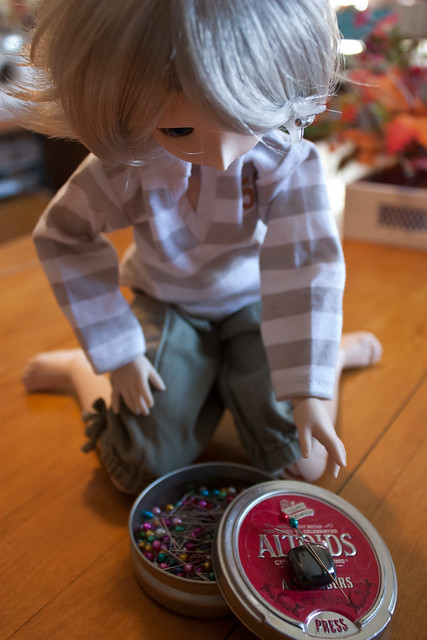
"Mommy forgot to put these pins away. I'm a big boy so I can do it for her."

Sewing Pins: Always buy good quality sewing pins. A time or two many years ago I bought a cheap/off brand of pins. Big mistake. Many of the pins were not smooth, some would snag my fabric, others wouldn't even be sharp enough to pin! My preferred kind of pins are Dritz Quilting Pearl Head Pins 1-1/2", but the one downside is the pin heads are plastic and can melt on my iron if I'm not careful. The other option is to get glass head pins or Dritz no-melt flat head pins that wouldn't be affected by the heat. Another bonus of the flat head pins is if you have large or bulky fingers (like my husband's), it will give you a more room to grab onto the pins.

Metal Container For Pins & A Strong Magnet: Buy sewing supplies and get candy! Sounds like a deal to me. Kidding aside, having a metal container, to not only store your pins in, but also with the handy magnet to grab the pins as they are pulled from fabric as you sew, really saves a lot of time. Plus if you drop a pin or needle on the floor or carpet, just take the magnet off the top of your pin container to retrieve the runaway. I have used mine this way for years and it works great as long as the magnet is strong enough to stick to the top of the tin as well as hold a small bunch of pins. The magnet I use is like these ones, but mostly because they were given to my husband as a gift so we had them around, but any good magnet will work.

Choices, choices...
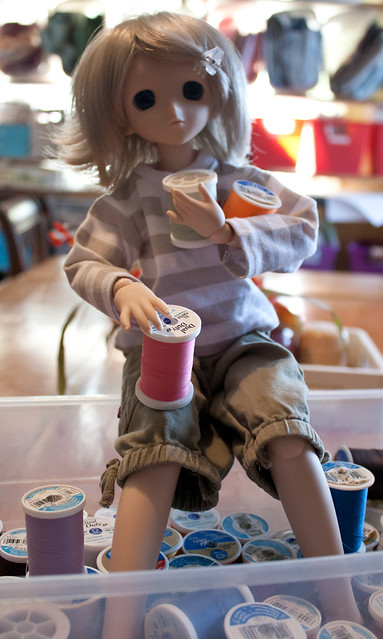
"I want this one, and this one, and this one..."

Thread: Again, this is another item where you don't want to buy the cheapest because the possibility that it will be nothing but a headache is pretty high. I still have some store brand black thread around here that I bought at Walmart many years ago. The thread isn't coated, the thickness is uneven and has lumps in it, I hate using it even for just hand sewing but using it in my sewing machine it constantly breaks because it gets too thin to withstand the tension, or the lumps get stuck in the eye of the needle and break. Avoid the frustration by sticking with Coats & Clark or the other better quality thread makers. When the thread is the only thing holding your sewing together, you want to use thread that you know will do it's job well.

Fabric Prince
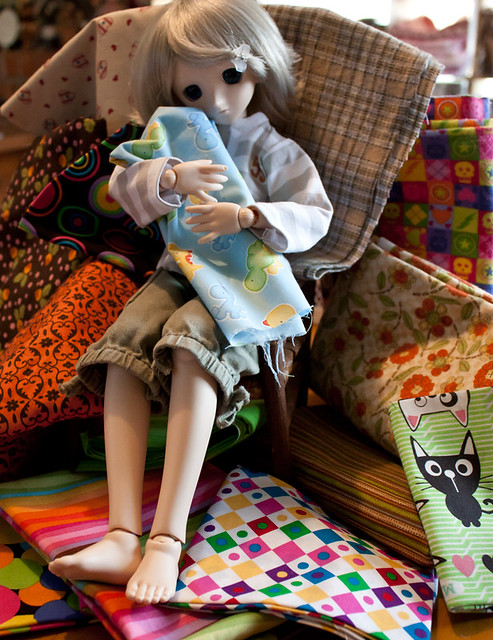
"Dinorawrs are the best to snuggle, even when there are kitties!"

Fabric: This one is a no-brainer, right? Well, mostly. It's true that you can use any fabric to sew, but even some of the ultra fancy fabrics can be a challenge for even a more experienced seamstress. To start with, stick with basic cotton, it comes in tons of solid colors (broadcloth) and a huge variety of prints because it is the most common fabric used in quilting or general sewing. It really is the easiest to work with and behaves nicely as long as it is 100% cotton and not a strange cotton/polyester blend. I point this out because my husband bought me some fabric many years ago as a present. Initially it seemed like really nice maroon broadcloth, but after further inspection (and multiple washings of the skirt I eventually made) it doesn't act much like cotton. It is a complete lint magnet, and wrinkles if you look at it wrong. I love the skirt, but it is a lot more fussy than pure cotton broadcloth would have been. I'll talk more about fabric in another post, because it is such an extensive subject.

What End
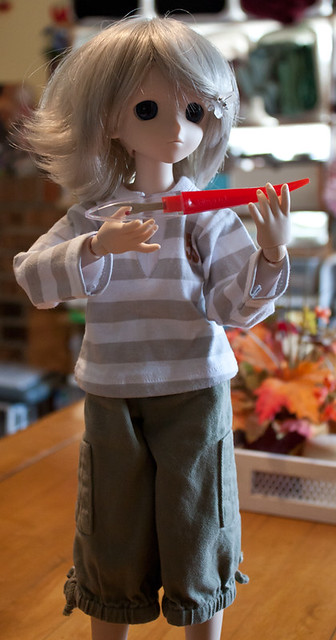
"I will use this to sneak olives from the can when mommy isn't looking. He he he."

Seam Ripper: Seam rippers are easy to find and as long as they are sharp they should work just fine. If you have to saw through your threads, it's time for a new one. I have found that if you spend a lot of time pulling out seams (I do a lot to disassemble old clothing that can be re-purposed) then getting a long handled seam ripper like this one saves hands from cramping trying to use a small one for an extended amount of time.

Whistle While You Work
"Look mommy, I'm ironing! Don't worry, it's not plugged in."

Iron: Another one that is pretty simple, the only reason I'm pointing it out is just for an FYI. Sewing always requires ironing at some point, but not all irons are equal when it comes to sewing, most especially when you are using fusible interfacing. The problem with interfacing and steam irons is the indents on the sole plate where the steam spews out, it leaves those same indents on the fused fabric/interfacing or tissue paper/interfacing, looking like half deflated bubblewrap that you can't quite get rid of. Very annoying. Last year I finally tracked down a dry iron, an iron that has a smooth sole plate and doesn't steam, perfect for interfacing. If you need to steam the fabric, have a squirt bottle nearby, simple as that. These kind of irons used to be called sad-irons, not because they were depressed, but because sad was an old term for solid or heavy. Either way, they are still really useful and I prefer my dry iron to my steam iron.

Surfin' USA
"I'm a beach boy, surfing on your ironing board!"

Ironing board: The kind of ironing board you choose depends on personal preference as well as space available. There are table top ironing boards, ones that hang from the back of a door, standard floor ironing boards, or even just a towel on top of an electric dryer. Personally I like 'the floor model' because it doesn't take up table space and the height is adjustable to use sitting or standing. Arguably you could say that for the table top kind, but only if your table is the right height and the chair you are using, or if you are short... None the less, having something to iron on that won't stain the fabric, warp from the heat/moisture, and won't catch on fire is important.

My Size
"It's little, just like me!"

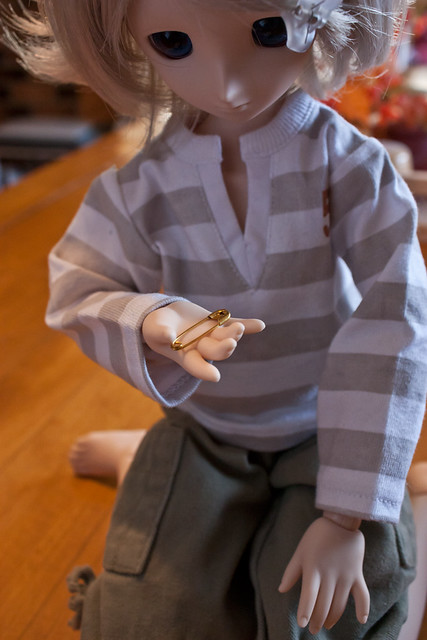
Safety Pins: Generally I find a single use for these that makes them invaluable in making doll clothes. Because the casing for elastic is usually very narrow, gold safety pins are about the only thing I have found that makes it easy to thread elastic into a waistband. Why gold? Usually when you buy a multi-pack of randomly sized safety pins, the smallest size is colored gold to stand out against the rest of the silver pins. They are usually 3/4in (2cm) long by less than 1/4in (1/2cm) wide. It is amazing what you find when you take the time to search for things! I never knew that you could buy these size safety pins separately. XD Well, that will make things easier especially since you normally only got about four of them in the multi-packs.

The only two things not covered by this list is a sewing machine, and fasteners. I have only used four sewing machines in the twenty years I have been sewing so I don't particularly feel like I have a broad enough experience to say what works best for most beginners. I can make a separate post talking in depth about my current sewing machine and my thoughts on it if there is enough interest. This would give you an idea of the kind of things to look for or think about before buying one. Fasteners really depend on what is required for the specific project you are working on, but also your personal preference for the types you most often use. This will have a separate post because each kind has it's own pros and cons.

Hopefully this list makes it less of an overwhelming experience when you venture into the fabric store. Seeing so many gadgets and strange looking implements can be exciting, but if you don't know what you are looking for, it can a frustrating task. Now venture forth, and don't tell them Sister Kyoya sent you, because they would have no idea who I am.

~Sister Kyoya

Wednesday, February 8, 2012

An Expectant Dollie Mommy

Since Monday I have been finding myself regularly distracted, unable to concentrate, prone to random fits of squealing followed by nervous worry. Is everything going to be OK? What time will they get here? Will the delivery go smoothly? At least I know I'm not alone in my anxiousness, although my husband doesn't say much about it, I know that he's nervous too. Tomorrow is when our first Dollfie Dream dolls are scheduled to arrive. Two of them are for me and one for my husband.

Tamayuki Otake is a Mini Dollfie Dream that I'm going to see if I can make into a boy. I'm not looking forward to his upcoming surgery on his chest (sanding- Ouch!) but it will be necessary. He will be a silver haired, blue eyed darling that I can't wait to hold. Even with knowing measurements of the dolls it is still hard to know how big they will actually be, or what age they can realistically portray. I was hoping that Tamayuki would be able to pull off a short middle school boy, but even that I'm not too sure of.

Rainie Day will be a Dollfie Dream Sister, once I can get the remainder of her parts, as it is she will only be half a doll for a while. When we ordered her waist, upper legs, arms and internal upper structure were out of stock, so it will be some time before she is completed. Despite what her name sounds like, she has a very sunshine personality, ending up with either light brown or red hair, apricot eyes, and very spunky.

Yuriko is a Dollfie Dream White Skin, and my husband's new daughter. I'm happy that he wants to learn to sew for her, and he said that she's going to be a clothing diva who loves the camera. With a personality like that I am already well aware that she will expect me to do sewing for her as well.


Now comes the long wait until morning... I wonder how well I'll sleep tonight?

~Sister Kyoya

Just a Little Girl's Love of Dolls

Not being one much for introductions, mostly because I never know what to say, here is me in a nutshell.

I have been married to my high school sweetheart for 12 1/2 years and together for almost 17. I am 33 years old and we have no children but are owned by two cats. Dimples, short haired gray tabby, who is a daddy's girl and sweet only when she wants to be otherwise she is a horrid bully. Moose is bigger but younger by two years, black & white long-hair ball of fluff, who has the adorable personality to convince most people that he was a girl. Dimples was originally supposed to be my cat and Moose (often called Mr. Moose-Moose) was to be for my husband. The cats had completely different ideas. Dimples is blatantly jealous when she has to endure the fact that she is not the only female in her daddy's life, and Moose is like an extra fuzzy teddy bear who decided that I'm his mommy and he doesn't need anyone other than that.

The remainder of our family consists of 10 American Girl dolls, 2 EB Mini boys (by Volks), Mini Dollfie Dream, Dollfie Dream White Skin, and a partial Dollfie Dream Sister. The last three will be arriving tomorrow with much expectation on both my and my husband's part. I will post about them individually later along with some of their stuffed animal cohorts.

As a kid I always loved stories, and when I got older my dolls and stuffed animals helped me remember how happy the stories made me, eventually developing into their own little people. They help me remember who I was, who I had hoped to be, and often can let me be whoever I wanted to be through them. Even as a little girl I knew that a girl's connection with her dolls was a special one, and that has become even more true the older I've gotten and still have my childhood friends right by my side.

~Sister Kyoya