No matter how careful you are with your patterns, purchased at a fabric store or printed from a free sewing pattern on the web, the affordable medium on which they are transferred is far from permanent. So what can you do to extend the life and usefulness? Is there a way to better preserve custom drafted or altered patterns to reuse for more outfits in the future? For many years I didn't think so. Having multiple patterns from McCall’s, Vogue, and Simplicity for my American Girl dolls, as well as trying to draft my own patterns for soft sculpture dolls, better doll clothes, and even my own clothing, I had found a lot of what didn't work.
The paper itself is the problem. Tissue paper is great because it's thin and flexes well with the fabric as it's being pinned, but tears easily from the expected use. Printer paper is just the opposite, inflexible, can still tear easily, but is a bugger to pin through, especially when it is accompanied by two layers of fleece. While searching through doll patterns on Ebay a few years ago, it felt like someone simply blurted out the answer. The seller said that the pattern being sold was unused, but she had reinforced the pattern with fusible interfacing.
I have been sewing since I was in grade school, and not once had I ever heard of doing this. For doll clothes sized patterns, this is an ideal and inexpensive solution. Best of all is that it works very well. Now your tissue patterns can be handled without worrying about tearing, but it is actually easier to pin with the fusible interfacing reinforcing it because then the tissue paper won't wrinkle so easily.
Here are the supplies you will need:
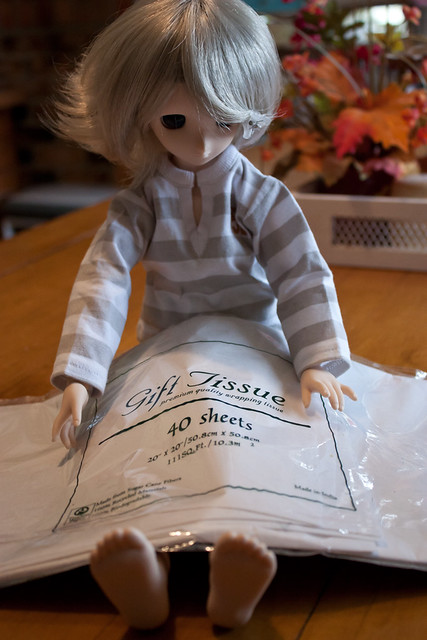
► Tissue Paper: This may seem like a strange thing to add to a sewing list, but for me it is invaluable. I've tried to pin a pattern on fabric that was printed on standard printer paper, and it only takes once to realize that this is not the best way to go about it. I keep a pack or two of white tissue paper on hand, easily be obtained from the wrapping section of most dollar stores.
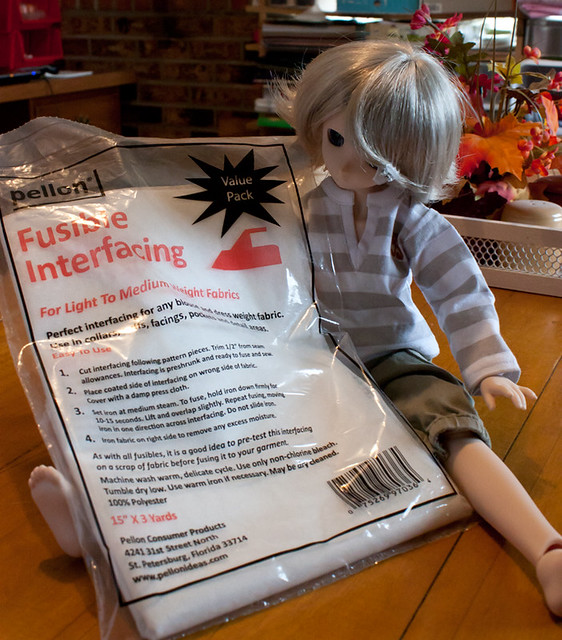
► Single-sided Fusible Interfacing: This is the interfacing that I prefer, mostly because it works well, but it comes in a pre-measured amount. Overall that’s not really a big deal, but it saves you from having to talk to the person at the cutting counter and getting bombarded with tons of options. If you want to buy it by the yard, the things to pay attention to is that you want interfacing for light to medium weight fabrics, but make sure it is single-sided. Interfacing is like tape, there is standard single-sided like normal tape, but then there is also double sided. The double sided will turn your pattern, iron, and ironing board cover into a complete mess. There are different glue strengths on the interfacing as well. Getting one that was too heavy might make your pattern too stiff and annoying to work with, but feel free to try it if you wish, I just never found a need to.
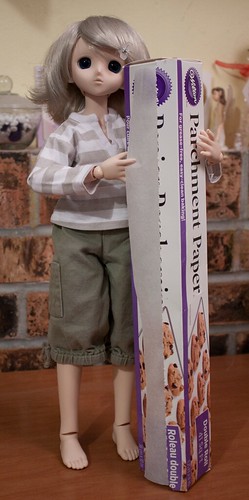
► Parchment Paper: Common cooking parchment is what you are looking for, but for the use in this project it is not interchangeable with wax paper. I think parchment has a silicon coating on it so things don't stick, including fusible interfacing.
► Iron & Ironing Board
► Ziploc Bags (Optional)
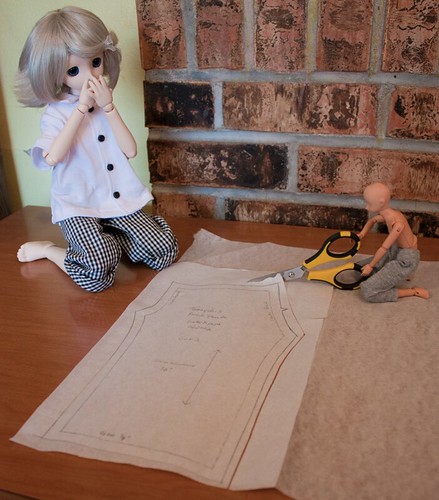
Have your pattern drafted or printed out before starting. When using the tissue paper, place the glossy side down (if there is one) because the marks show up too light on that side. Now, lay a piece of the tissue paper over the pattern to be transferred, carefully tracing all the lines and markings on the pattern. Using a dark pencil is best because I'm not sure if the ink from a ballpoint pen would run or get sticky from the heat of the iron. A felt tip pen is too wet, making the lines not crisp and possibility tearing the thin tissue paper. As the pattern is being transferred, check to make sure your lines still match up, sometimes the tissue shifts and the pattern would be off.
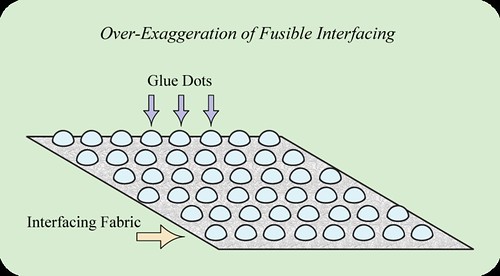
After the pattern has been transferred, place the interfacing on the ironing board, glue side up. One of the reasons I like this interfacing is how easy it is to tell what side will be fused. Just by running my hand over it I can feel the glue dots so I always know what side to have against the glossy side of the tissue paper. There was one kind of interfacing that I had once where it was very difficult to tell what side had the glue. At least twice, I had the wrong side against the iron. Definitely better things I would have wanted to do with my time then clean melted glue from my iron. -_-
I set my iron to the wool setting (about #4), but if you are using a steam iron, set it to the highest setting that does not use steam. Any water or steam will ruin the tissue paper pattern and no amount of ironing after that can fix it. Press the iron onto the pattern & interfacing in sections for about 5 seconds, being careful not to scorch the paper. You may need to do it longer depending on your iron. I usually press the inside of the pattern first close to the edge but not overlapping it. This just saves on how much interfacing I use.
Fusing the center like this only works if the middle of the pattern is big enough, but if it isn't I run the tip of the hot iron near the edge of the pattern. This will get it to stick a little so I can pick it up and trim the interfacing. No matter what way you do it, the tissue paper needs to be completely fused to the interfacing.
Roughly cut out pattern near the edge but not right up against the outside of your pattern lines. You can skip this step if the tissue paper already overlaps all edges of the interfacing.
Place parchment over pattern, ironing over all the pattern edges, fusing the whole thing flat. I reuse the same piece of parchment and keep it with my interfacing. So far I haven't had to replace it in the few months I've been using it.
Cut out the pattern along the outside edge of your cutting line, making the fabric much easier to cut out once the pattern is pinned.
► Parchment Paper: Common cooking parchment is what you are looking for, but for the use in this project it is not interchangeable with wax paper. I think parchment has a silicon coating on it so things don't stick, including fusible interfacing.
► Iron & Ironing Board
► Ziploc Bags (Optional)
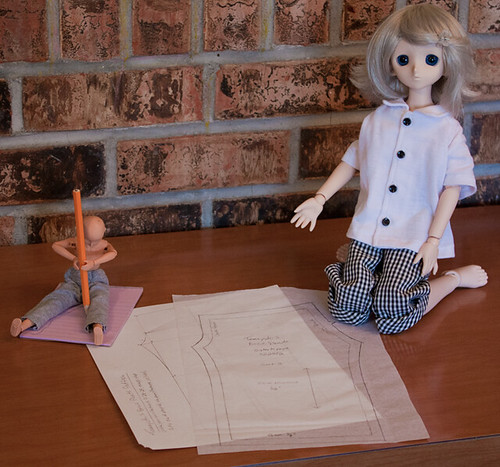 | ||
| Dolly: "I can draft better pants than these ugly things I have to wear..." Tamayuki: "Mommy can draw prettier than me." |
Have your pattern drafted or printed out before starting. When using the tissue paper, place the glossy side down (if there is one) because the marks show up too light on that side. Now, lay a piece of the tissue paper over the pattern to be transferred, carefully tracing all the lines and markings on the pattern. Using a dark pencil is best because I'm not sure if the ink from a ballpoint pen would run or get sticky from the heat of the iron. A felt tip pen is too wet, making the lines not crisp and possibility tearing the thin tissue paper. As the pattern is being transferred, check to make sure your lines still match up, sometimes the tissue shifts and the pattern would be off.
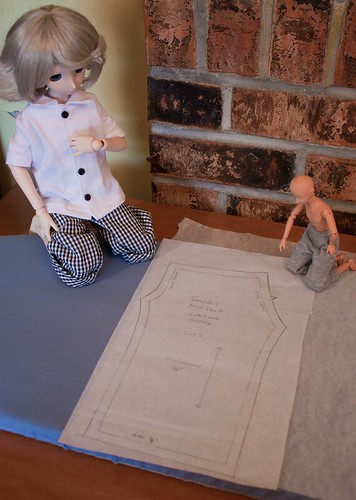 |
| Tamayuki: "These are for my new pants." Dolly: "Look here, she messed up and left a part poking out!" |
After the pattern has been transferred, place the interfacing on the ironing board, glue side up. One of the reasons I like this interfacing is how easy it is to tell what side will be fused. Just by running my hand over it I can feel the glue dots so I always know what side to have against the glossy side of the tissue paper. There was one kind of interfacing that I had once where it was very difficult to tell what side had the glue. At least twice, I had the wrong side against the iron. Definitely better things I would have wanted to do with my time then clean melted glue from my iron. -_-
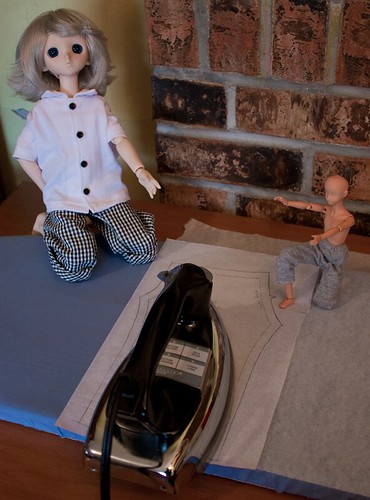 |
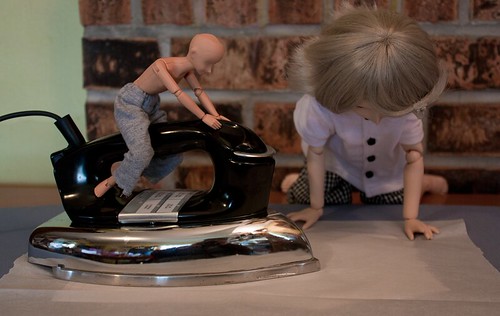
| Tamayuki: "I let mommy do this part because the iron is hot." Dolly: "Ooooh! It's my turn!" |
I set my iron to the wool setting (about #4), but if you are using a steam iron, set it to the highest setting that does not use steam. Any water or steam will ruin the tissue paper pattern and no amount of ironing after that can fix it. Press the iron onto the pattern & interfacing in sections for about 5 seconds, being careful not to scorch the paper. You may need to do it longer depending on your iron. I usually press the inside of the pattern first close to the edge but not overlapping it. This just saves on how much interfacing I use.
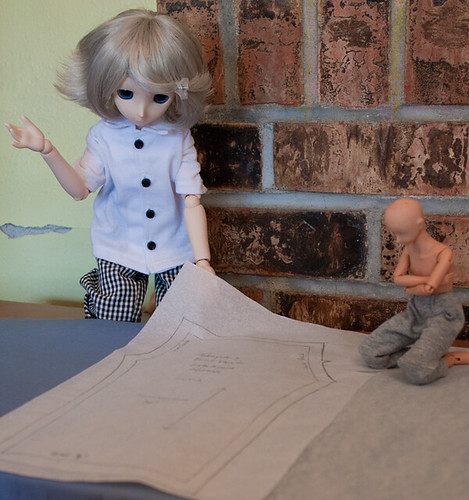 |
| Tamayuki: "Look, it's stuck!" Dolly: "I could have done it but nobody lets me..." |
Fusing the center like this only works if the middle of the pattern is big enough, but if it isn't I run the tip of the hot iron near the edge of the pattern. This will get it to stick a little so I can pick it up and trim the interfacing. No matter what way you do it, the tissue paper needs to be completely fused to the interfacing.
 |
| Tamayuki giggles."Mommy was nice to let Dolly help." Dolly: "See, I can do a better job cutting than anyone. Just look!" |
Roughly cut out pattern near the edge but not right up against the outside of your pattern lines. You can skip this step if the tissue paper already overlaps all edges of the interfacing.
 |
| Dolly: "Vroom, vroom!" Tamayuki: "Now I just need to carefully place the parchment here..." |
Place parchment over pattern, ironing over all the pattern edges, fusing the whole thing flat. I reuse the same piece of parchment and keep it with my interfacing. So far I haven't had to replace it in the few months I've been using it.
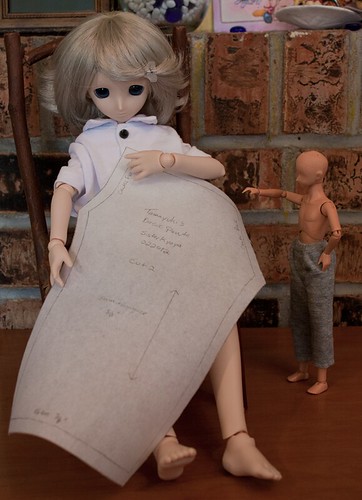 |
| Tamayuki: "Look, mommy cut carefully to keep all the lines on the pattern." Dolly: "Hey, where did my great line go that I cut?" |
Cut out the pattern along the outside edge of your cutting line, making the fabric much easier to cut out once the pattern is pinned.
 |
| Tamayuki: "Can we make my pants now?" Dolly: "They don't look like they fit at all. Maybe they just say that they are pants, but it's really another skirt!" |
Yay! Now the pattern can be used for that wonderful new outfit that your doll has been waiting for, and it can be reused when her sister wants one of her own. The easiest way I have found to store the finished patterns in gallon sized Ziploc type bags, then there is enough room to store the directions, and any other pattern pieces for the garment.
~Sister Kyoya
No comments:
Post a Comment